http://i1325.photobucket.com/albums/u633/toddjb1/Workbench/imagejpg3_zps77b4893a.jpg
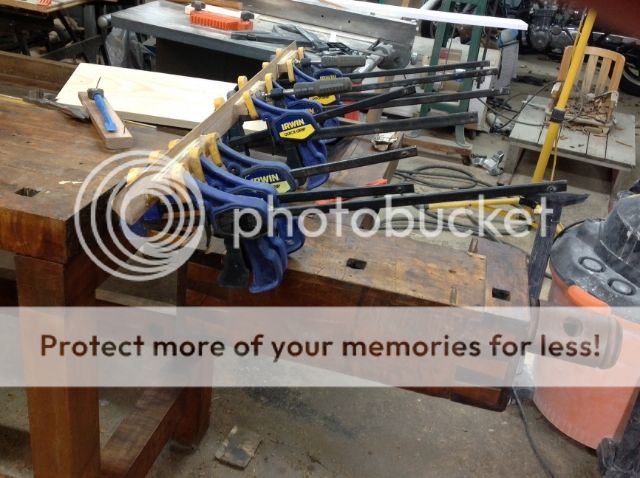
This is an exciting entry for me. It’s exciting because I’m done with my original list of things that had to immediately happen to bring the bench back to a functioning state, and now have moved into “Added Value” items. And for me that’s exciting.
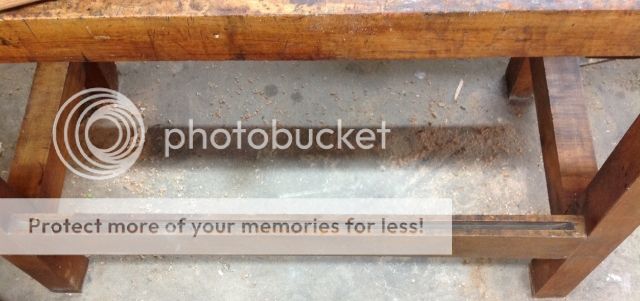
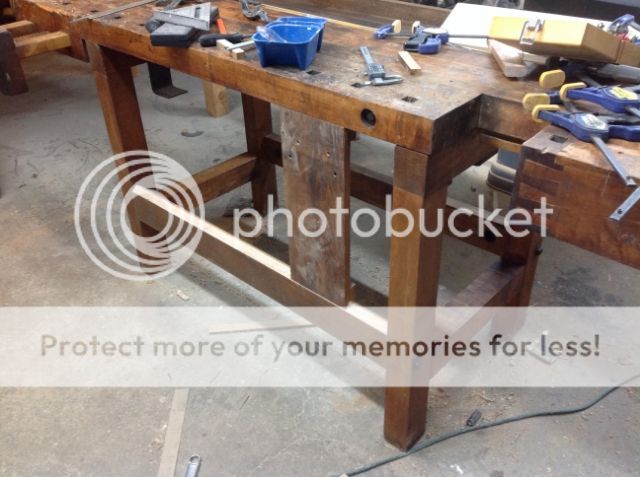
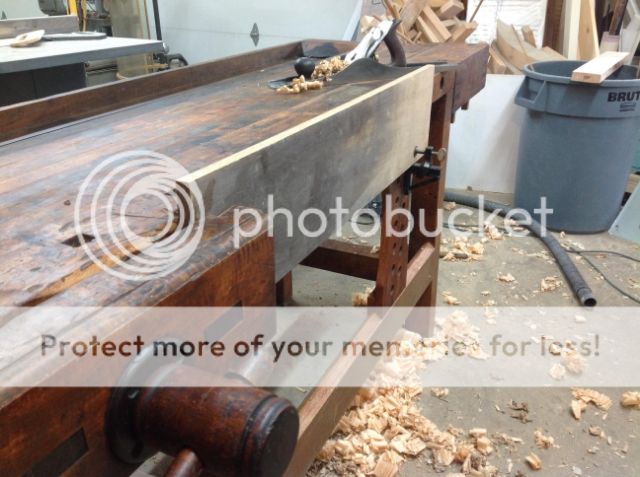
This bench came to me with no bench dogs and no deadman. There were holes in the top for the dogs, and grooves for a deadman, but no trace of either.
But through seeking some advice from the workbench thread we created a plan.
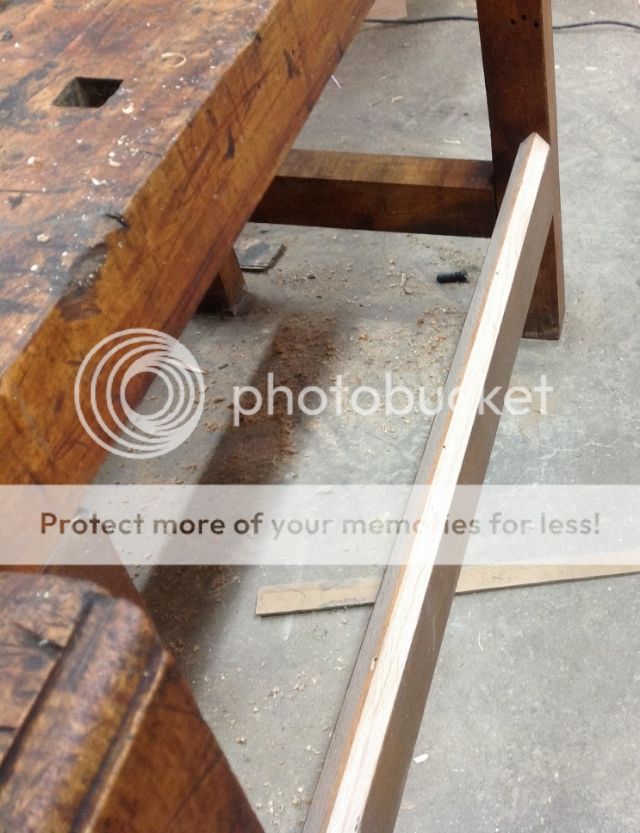
First, Deadman. Here is what I was working with – a groove down the center of the front stretcher with a matching groove on the underside of the top.
One of the things noted in the workbench thread was that the bottom groove was a poor design. It would be a magnet for dust and swarf and eventually impede the movement of the deadman. A better design is to have the deadman slide on convex rail so that the dust would just fall off. Not wanting permanently change the bench we came up with a solid, yet removable, retro fit.
He’s how it worked:
I took an oak strip I salvaged from an alley found bookcase
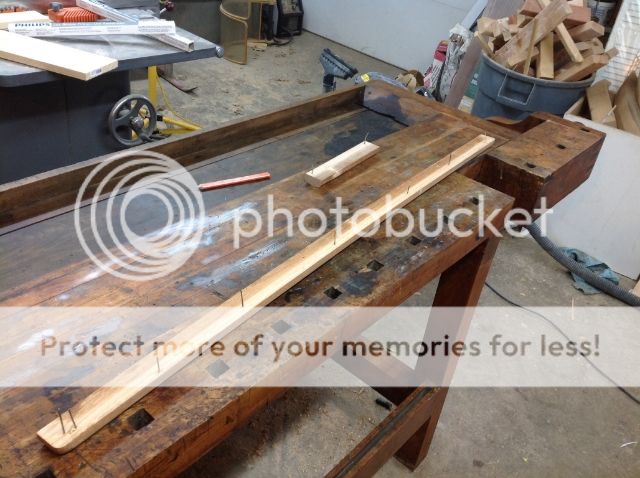
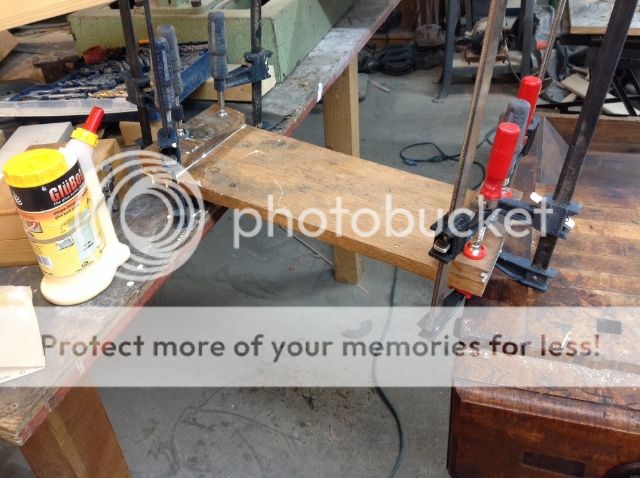
Removed some nails and cut it to 1/64th longer than the distance between the legs, then I loosened one of the bolts that tightens the legs to the stretcher and fit the piece in, then re-tightened the bolt pinching the new rail in place. Really nice snug fit.
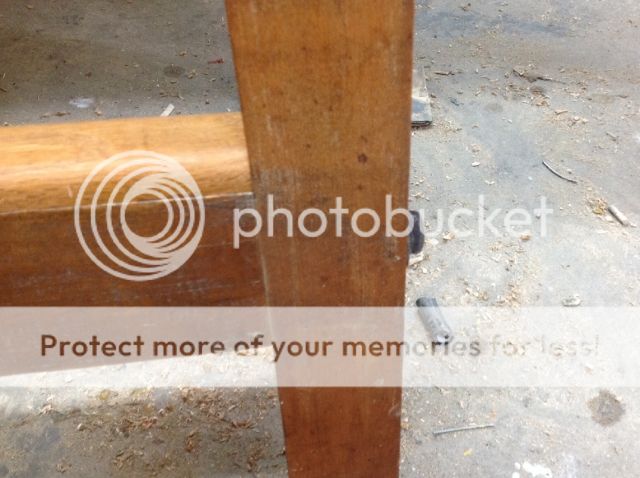
Through I could not budge this by hand I wanted to take an extra step of precaution to ensure no movement. I added some cleats to the bottom of the rail that fit snugly into the preexisting groove.
From here I cut my 45s on top of the rail.
Rail constructed and in place.
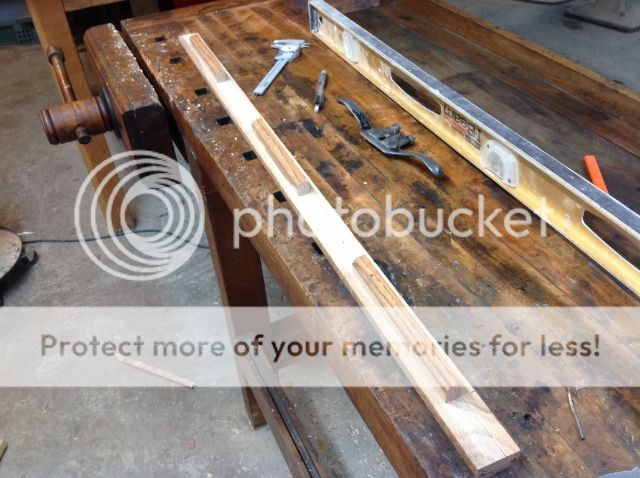
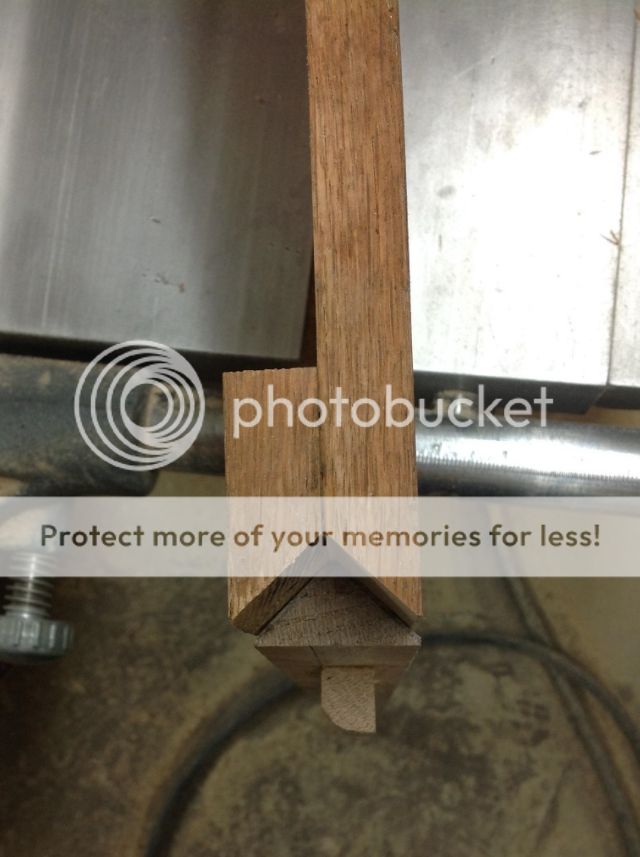
Once that was completed I moved my attention to the deadman. I found a another piece of oak in the pile, no idea where this one came from, but it’s definitely salvaged as well.

Cut the top and bottom off of it to give me the correct height and then reglued those pieces to the back of the deadman for the required thickness to slide along the rails.
Cut my 45s in the bottom and rabbets on top.
Test fit.
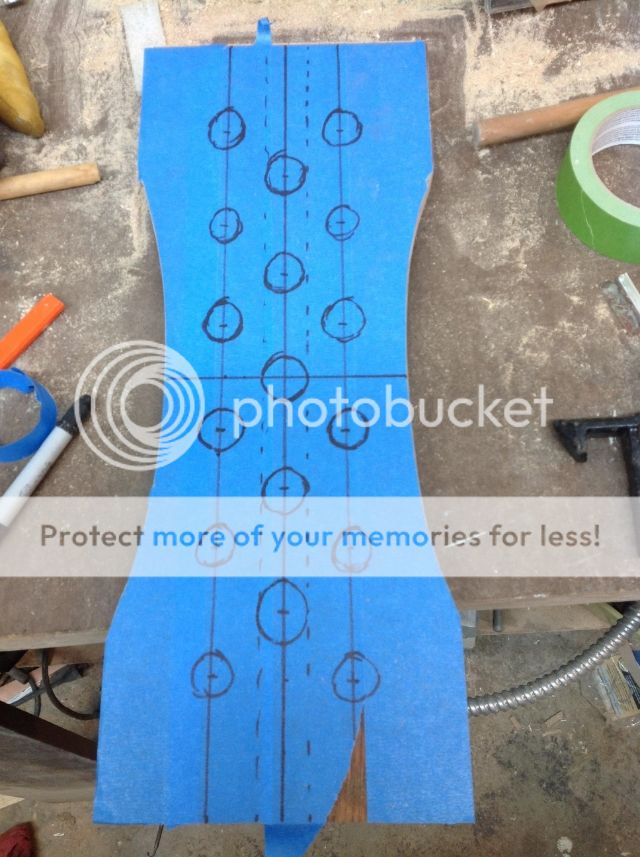
Then sexed it up, with some sultry curves.
At this point I needed to decide on a hole pattern. This was my first shot.
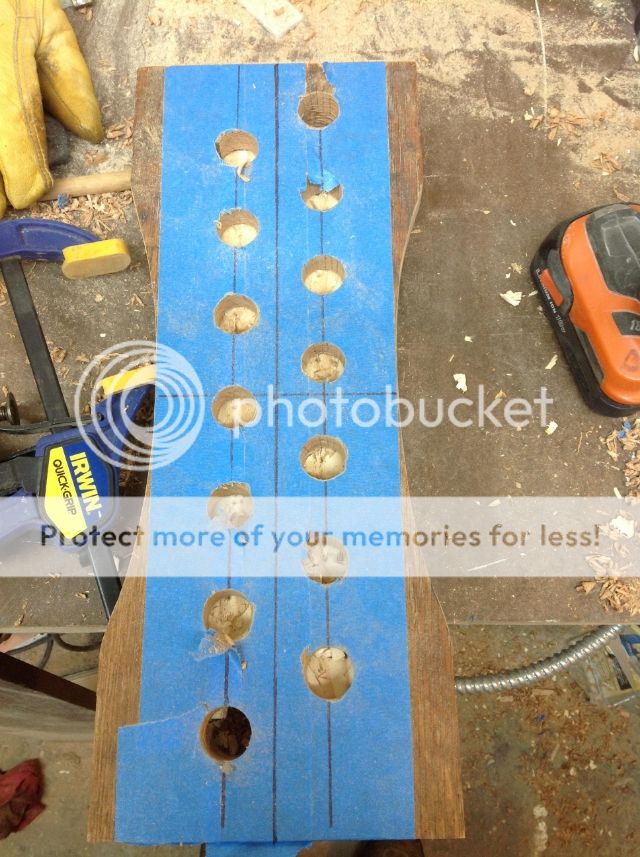
But I ultimately decided that was a little too much and land on this
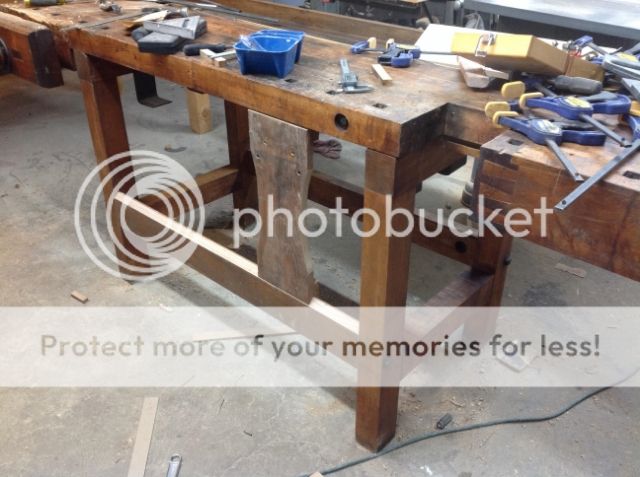
Added some oil on the surface, and a little stain in the holes to make it look like it’s been around for awhile, and put her in place.

Being put to use with the 203 (the 203 is integral to the inevitable placement of a chest of draws underneath
I’m happy with the way this turned out, and how well the oiled up oak matches the look of the rest of the bench.
DOGS!
Here is an example of what a modern square bench dog looks like.

There is a lip on the dog that catches a corresponding lip on the inside of the hole so that your dog can be pushed down and sit flush with the table top without falling through – and there is an angled sliver of wood attached to the bottom of the dog which acts as a tensioning wedge holding the dog where you place it in the hole. Pretty straight forward.
But when working on old things there is little that is straight forward.
My dogs holes do not have lip built in, and more annoyingly the wholes are not the same size so I’ll need to make one for every hole and make then custom sizes to ensure a snug fit.
The other change in design I did, which makes sense to me, is that I did not put the wedge the front or back or the dog, I place mine on the side. My logic behind this is that in use the pressure of the vise is pushing on the front and back, and I want as much solid material taking that pressure. Not sure if that really matters, but I figured it would not hurt anything.
Here was my quick and dirty 2
A New Life for an Old Bench #7: Deadmen and missing dogs
No comments:
Post a Comment